How to do design on dip nails
The nail service industry does not stand still. Over the past few years, a huge number of new, unusual materials have appeared to solve a lot of problems related to the nails. In particular – polygel, botl-gel, which allows you to align in a short time without filing. Many masters appreciate the fileber-gel, which contains small fibers of glass fibers and is used to repair and strengthen very weak nail plates. But all these products require drying in an ultraviolet lamp, except for the DIP-system.
What is a dip system in manicure?
During the polymerization of gel nail polish, the nail plate gets very hot. Because of the use of low-quality Chinese materials, the number of cases of onycholisis, nail plate burns and the skin under it, is increasing. More and more artists are faced with the problem of allergies, when after coating gel nail polish skin around covered with ulcers, bubbles, from which stands out a transparent liquid. Many of the permanent clients of the masters, who once faced with allergies, onycholisis, nail plate burn, forever lose the opportunity to wear a beautiful manicure. Not so long ago dip-system was developed especially for these women.
What is the DIP-system in manicure:
- It is a special technology that provides unique materials for smoothing and covering the nails. Just like a gel-lacquer coating, this system is worn for 3-4 weeks.
- However, the coating process does not use ultraviolet lamps, the coating is not heated, and dries in the air. It is worth noting that this system consists of several preparations, which should not be replaced by similar, other manufacturers. This is due to the difference in composition.
- While one can use base of one brand and colorants of another, in VIP-system it is necessary to buy all set with which the coverage is made.
What does a dip system for nails without a lamp consist of?
In order to cover your nails or strengthen them using the dip system, the following materials are used.
What does the DIP-system for nails without a lamp consist of:
- dip base coat
- Transparent mineral or acrylic powder
- Colored mineral powder
- Activator
- Top coat
In addition, additional preparations are used, just as in the gel system. These are dehydrators, which dry the nail plate. The principle of operation is quite simple, but are not performed in the same way as the coating of gel varnish, but with the use of a special technique.
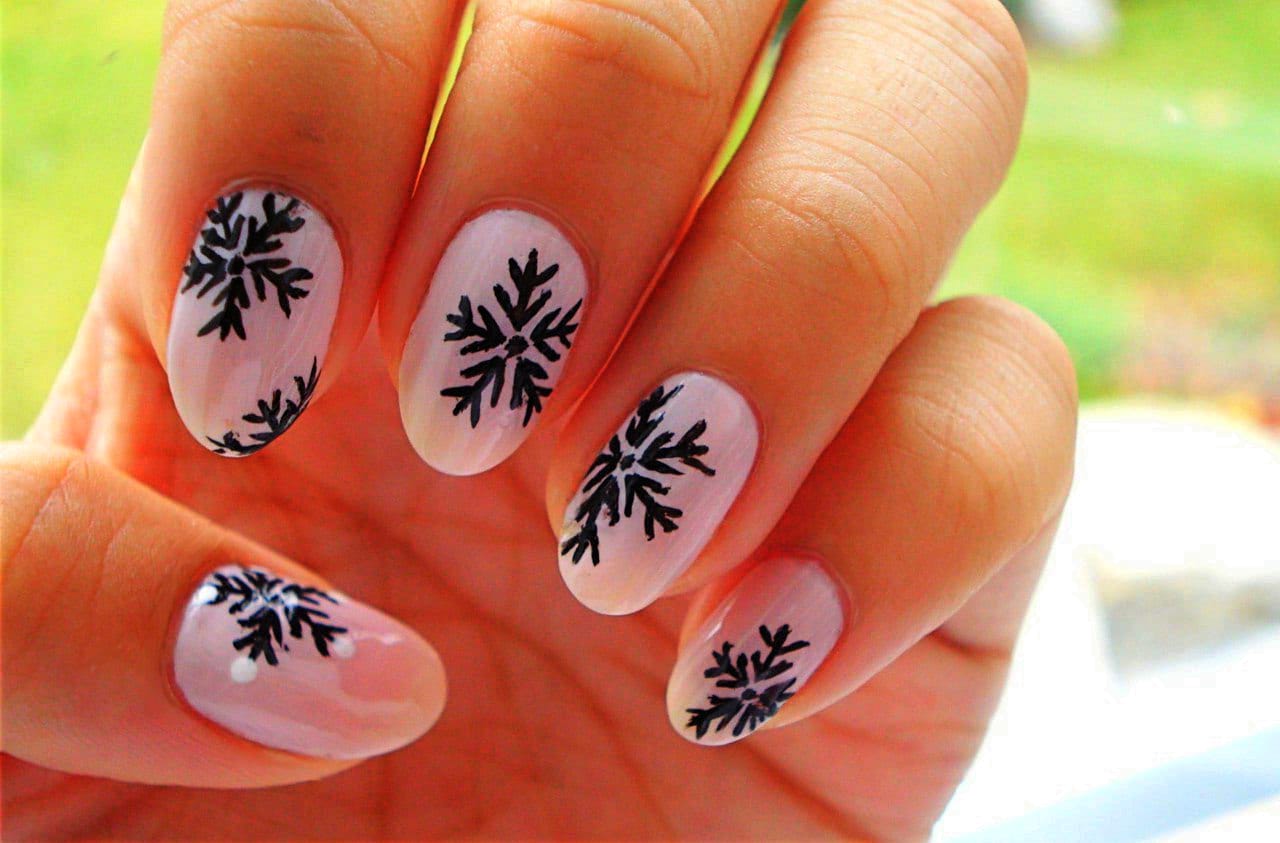
Powder manicure technique
Preparation does not differ from the standard coating. It is necessary to file the top glossy layer, making the nails matte. It is best for this purpose to use a saw with the coarseness of the grain 180-240 grits. Suitable and baphiks with the same coarseness of grain. Cuticles are removed by using the apparatus in a combined technique. The pterygium is removed with a blue or red cutter, and then the cuticle is cut. If necessary, a buffing is performed, using a polisher.
Powder manicure technique:
- After the nail plate is prepared, dust is removed from its surface, using a brush, wiped with a napkin moistened with alcohol. After that, use a dehydrator, which is also sold as part of the system. It dries the surface of the nail plate and improves adhesion to the material.
- Next, the MAP base coat is applied. It is applied, unlike the gel-lacquer system, a little differently. This base contains acrylic resins, which are quite hard and bulky. Therefore, the first stage is not applied to the entire surface of the nail, but not reaching the cuticle and lateral rollers for 2 mm. Next, dip the nail in the transparent powder, shake off the excess and let dry for 2 minutes. All nails are covered one at a time.
- It is necessary to work in a conveyor method. You can not, as in the gel-lacquer system, apply the base to all nails, dry and then apply color. Here it is necessary to do all the manipulation one nail at a time. After the top layer of mineral powder dries, the excess is removed, using a soft brush. Next, again a layer of base is applied and the nail is dipped in mineral powder. However, this time the base is applied against the nail plate.
- That is why, before applying the second layer of strengthening, it is necessary to push back the cuticle with a pusher. This should be done very carefully, because unlike the gel system, which is completely dry, the MAP system before applying the activator, is quite soft, similar in structure to plasticine. After the two transparent layers have dried a little, it is necessary to use colored powder. It is applied in two layers according to the same scheme. The base is applied at once, not reaching the cuticle 1-2 mm, is immersed in colored powder and dried in the air for 2 minutes.
- On the second layer of colored powder, the base is dipped under the cuticle. After the rest of the powder is removed and the colored coating is done, it is necessary to make this entire layer of mineral powder and base solid. For this purpose, use a special activator, which is included in the kit. It is applied to the entire surface of the nail, let it dry for 2-3 minutes. It is during this time that all layers become hard, and do not resemble plasticine. At this stage, it is necessary to perform sawing, removing all unnecessary things. Sawing is performed using a saw, with a coarseness of 180 grit. It is worth understanding that the system is created on the basis of mineral powder, so it is much harder to saw than polygel or gel. You will have to make more effort and use a saw with a larger grain size.
- Once you are satisfied with the architecture of the nail, all excess material is removed from the ends and lateral rollers, it is necessary to sweep away the remaining material, using a brush, and again go through the activator. This is the final treatment, which allows you to make the material as hard as possible. It is worth bearing in mind that in the process of sawing off the face, a thick layer of material may be observed. To make the DIP system wearable, it is better to saw off 1 mm of the natural nail from the back side than to remove a significant amount of mineral powder from the end face to achieve a small thickness. If you remove a lot of material, the reinforcing layer will be too thin, it will just break. After the second layer of activator dries, the nails are covered with topcoat. It is also applied in 2 layers and dries for 4 minutes. After the first layer, the top coat is absorbed into the loose layer of mineral powder and small scratches may appear on the surface obtained during the filing of the surface. On the second coat, all scratches and imperfections of the coating disappear. The whole process takes an hour and a half.
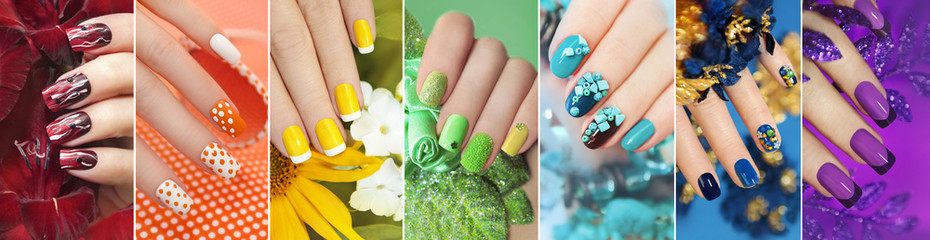
Powder system for nails: advantages
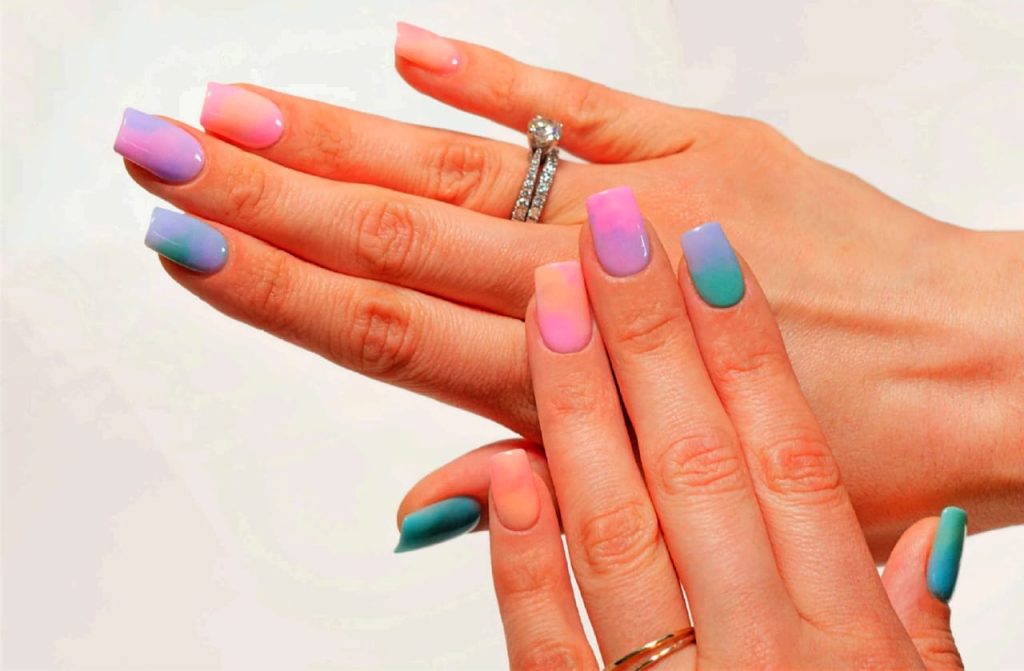
To create a large number of colors, it is necessary to buy powders of different colors, which significantly increases the cost of the procedure. That is why most masters, who deal with this system, buy only the most marketable colors. This reduces the number of colors and designs for clients. This system is ideal for girls who like a monochrome finish without patterns or designs.
Powder nail system, advantages:
- The use of exclusively natural materials
- No thermal effects and acids on the surface of the nail plate
- No contact with aggressive components that cause allergies
- No possibility to get burnt nails because of drying in the air without a UV lamp
- Good durability, nail longevity
How do I remove the MAP powder coating?
It is quite difficult to remove and takes much longer than a base coat or gel coat.
How to remove a coating with dip powder:
- Some of the companies suggest removing the coating each time using acetone-containing substances. Thus, exposure to allergic people’s skin will be a real challenge. After all, people who have allergies are likely to react to a liquid that contains acetone.
- But it is possible to remove without using acetone, using a cutter. But this process is much longer than when removing the gel coating. It is necessary to remove the materials almost completely, leaving only a thin, transparent substrate, which was left after the application of the base and the transparent powder.
- Disadvantages of powder manicure DIP-powder
But there are a significant number of disadvantages. Many experts question the hygiene of the procedure, because in order to cover the nails, each client must introduce his finger into the container with the powder. The remainder of the powder is removed by tapping movements, and the powder falls back into the can of material.
Disadvantages of powder manicure DIP-powder:
- In addition, some specialists of nail service, very doubt the naturalness of the system, because the base contains acrylic resin, which is also quite a strong allergen.
- Another big disadvantage is the difficulty of removing the coating. To do this, you need to use cutters with black or green notches, because the mineral powder in its structure resembles a natural stone. Nails are really very hard and strong, despite the small thickness of the coating.
- The need to purchase the entire set, which significantly affects the budget.
While the system is popular among allergic people. Some masters are happy to use the novelty because of the speed of coating, which saves time and allows you to serve more customers, increasing income.